So many of us are working at home these days that it’s become increasingly important for each of us to know as much as we can about how to set up a home recording studio. The music business has evolved immensely over the last several years and if you don’t have an efficient studio setup at home to work in, you’re not making the most out of your space. In this post, we’ll cover the basics of setting up an efficient home studio from your studio desk to your patch bay.
First things first- what’s your budget? Let’s say you don’t have any equipment at all, not even a patch bay, you just have an extra room set aside that you’re going to designate as your recording studio. We’re going to assume that sound isolation is not much of a concern in your case as this is probably the single most expensive part of setting up any space. You can cheaply do things like put up some packing blankets on the walls of a closet to set up a makeshift vocal booth but you’re not going to be building rooms within rooms- we’ll reserve this for another post. So back to the budget- how much can you afford to spend on the project and what is your main goal with setting up your space?
There are 4 key questions you should be able to answer before you begin setting up a new studio:
Let’s say you’ve got your budget nailed down, your space is totally appropriate, you’re not going to do any heavy demo or construction and your plan is not so ambitious that you need a pro to help you. First, start with your floor plan. Your main workstation or music studio desk has to fit comfortably in the room along with all of your other equipment. Pro recording studios are designed around the Neve, SSL console or other workstation where the engineer is seated- In this case that person is YOU and you want your workspace to be as ergonomic as possible. Your studio monitors should form an equilateral triangle with the engineer’s chair meaning they should each be as far from your head as they are from each other. Place your TT patchbays close to the user position and make sure your patch cords are within reach. Now you can decide where to put any additional furniture you may want in the room. An auxiliary equipment rack, a couch or chairs for clients and anything bulky you should include in your floor plan from the onset of your planning. After your floor plan is done you can move on to the technical side- deciding where to place additional electrical outlets, where and how to run your equipment wiring and mic panels, etc.
After you’ve placed your recording studio desk, got your furniture situated and monitors positioned, now you can move on to the technical stuff. Remember, all of the planning done so far is on paper, or done with cardboard mock-ups or tape on the floor. You don’t need layout software or special expertise. Anyone can do it and it gives you instant feedback on what seems to work and what does not. Most modern studio equipment does not use much electricity but as a rule of thumb, you should try to keep the gear in your studio on its own breaker at LEAST. Ideally, your equipment should all have its own ground, separate from that of the rest of your house but this is a topic for another post. You’ll need some basic sound treatment for sure- keep your corners filled with bass traps, place absorption behind the mix position to kill early reflections and treat any parallel walls a bit to minimize flutter.
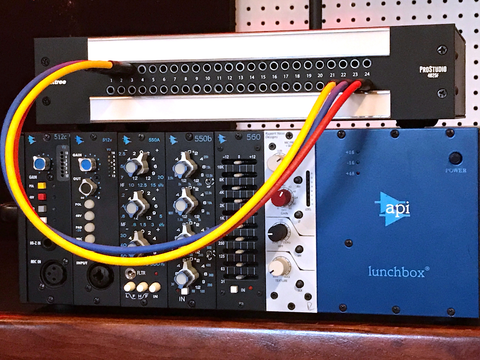
As a bonus, if you have an adjacent room or closet that you can remotely locate a guitar cabinet or turn into a vocal booth, install a patch panel in there so you can send signals to/from your workstation in and out of that room. Mic inputs, headphone feeds and line level tie lines on your patch panel can all be wired up to your TT patchbay easily with DB25 to XLR snakes, XLR to TT or other appropriate off the shelf cables. If you don’t have an adjacent room or if that isn’t part of your plan, don’t worry; this isn’t mandatory to setting up a home recording studio. There are as many ways to record as there are ways to set up a studio and what is right for one person might not work for someone else.
Finally, with the space left over, you can decide where to hang guitars or other instruments, place art and decorate your new space. Have fun, be creative and check out our future posts for more tips on how to set up a home recording studio!

Jack Field
Author